Project 05 · Team project · Mechatronics
Q-Arm Robotic End Effector
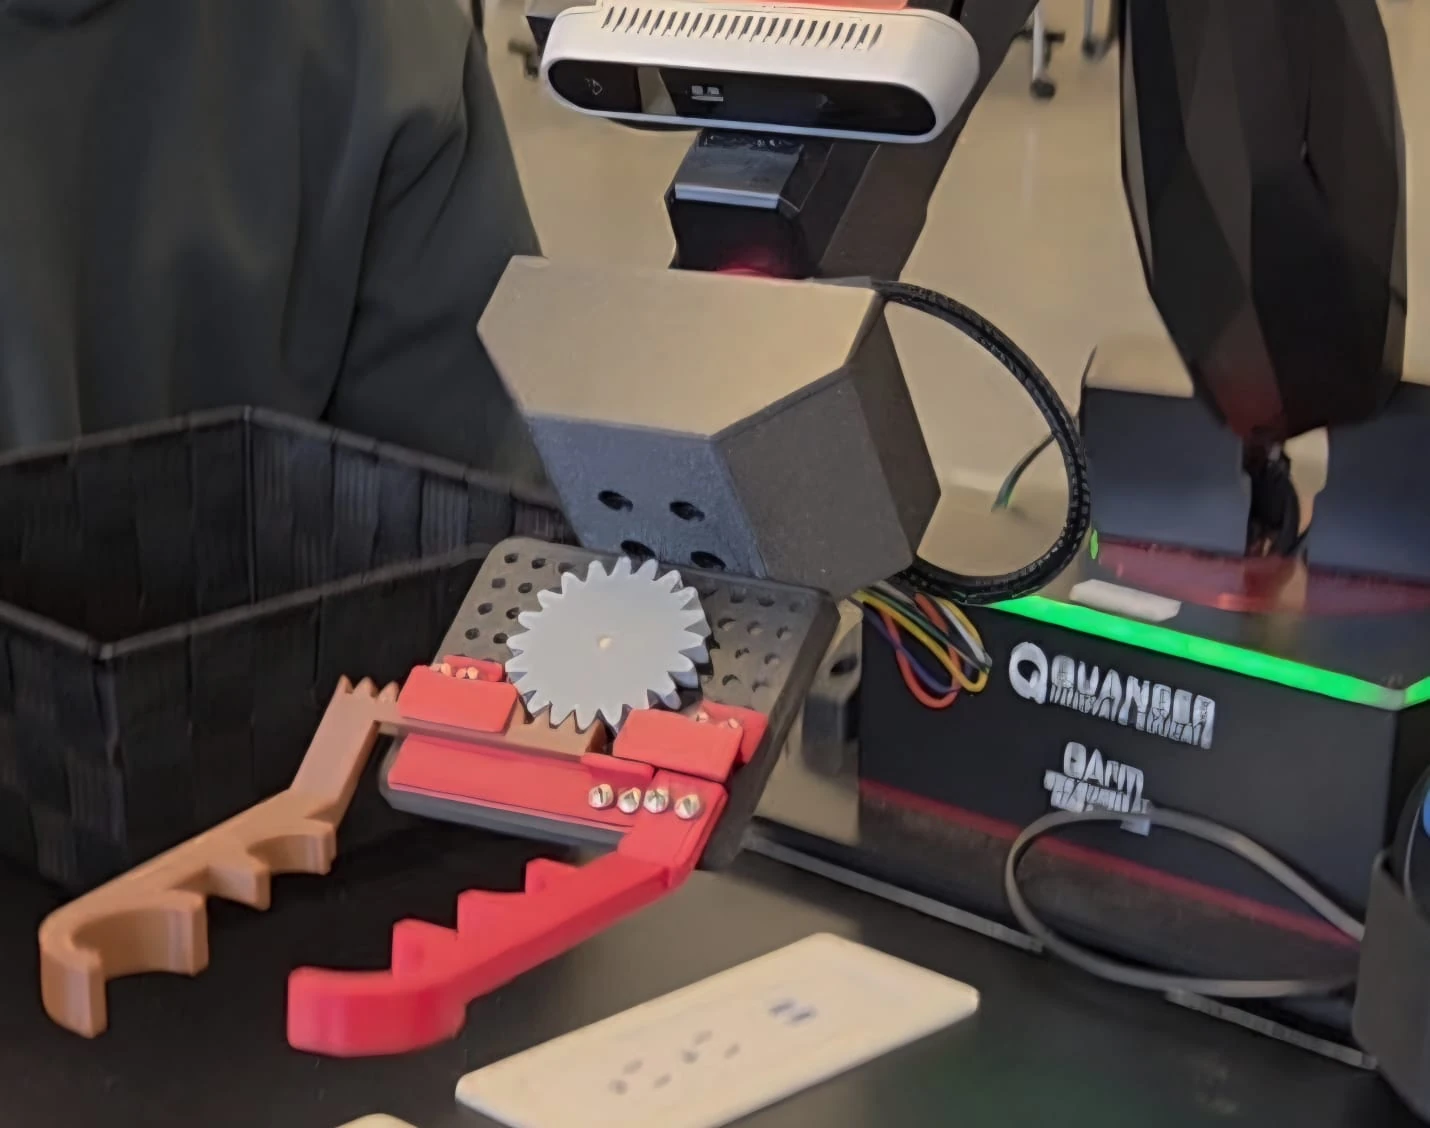
My team and I built a compact gear-driven gripper and a barcode-driven sorting workflow for warehouse items with different shapes. Our private team record documents the integrated workflow, but we did not record a pickup trial count or success rate.
- Role
- Project manager · design · Python integration
- Team
- 5 students
- Project limits
- ≤ $50 materials · 225 × 210 × 220 mm print envelope
- Workflow
- Barcode → pick → receipt
At a glance
The concept, my part, and the documented workflow.
The problem
We set out to automate barcode-based warehouse sorting with a programmable desktop robot arm and a custom gripper. The gripper had to fit the existing mount, a $50 budget for outside materials, and the available 3D-printer volume.
My contribution
I led and took ownership of the coding integration while also chairing weekly meetings and maintaining the schedule. I connected the team’s Python functions into one workflow, tested their interfaces, and removed redundant branches. I also implemented complete_order() for product totals, discounts, tax, receipt output, and order storage, proposed object-matched gripping surfaces, and designed the angled grip geometry.
Documented team outcome
Our private team files document assembly of the printed gripper and integration of barcode scanning, robot pickup, sorting, and receipt generation on the Q-Arm. They also record low-friction contacts, weak fastening, straight profiles that did not suit the more difficult object shapes, and an approach-angle mismatch. We revised the grip angle, contact shapes, fastening, tolerances, and clearances, but we did not record a trial count or final pickup-success rate.
01 / Concept
Combine the contact geometry with a support wall
Each of us generated concepts before we selected a mechanism with only two moving parts. We combined my object-specific gripping surfaces with another member’s stationary support wall, keeping the mechanism simple before physical testing. I angled the grip to keep the Q-Arm correctly oriented at pickup and help the fingers meet the target shapes.
02 / Design iteration
Rework the geometry after physical tests
My first printed grip looked plausible in CAD, but physical testing showed that the Q-Arm’s approach angle prevented its openings from contacting the objects as designed. Low-friction contacts, weak fastening, and straight profiles also performed poorly on the more difficult object shapes.
Working within a $50 cap on external materials and a 225 × 210 × 220 mm printer envelope for individual parts, we revised the grip angle, contact shapes, fastening, tolerances, and clearances.
03 / Integration
Connect the gripper to the order workflow
I led the software integration across five separately assigned Python functions, checked that their inputs and outputs connected correctly, and removed redundant branches that made the combined program harder to debug. My complete_order() function handled repeat-customer order counts, product totals, discounts, tax, receipt output, and completed-order storage.
The program authenticates a customer, scans and prices the products, moves the Q-Arm through product-specific pickup and drop-off routines, records the order, and repeats until the customer finishes.
- 01 · main()Start the warehouse workflow
- 02 · authenticate()Sign in or create an account
- 03 · scan_barcode() + lookup_products()Read items and retrieve their prices
- 04 · pack_products() + drop_off()Pick each item, move it, release it, and return home
- 05 · complete_order()Apply discount and tax, print the receipt, save the CSV
NoReturn to barcode scanning
YesRun customer_summary() and finish
Tools & technologies
- Python
- CAD
- 3D printing
- Q-Arm
- Prototyping
- System integration